Woodworker's Journal 2004 Summer, страница 28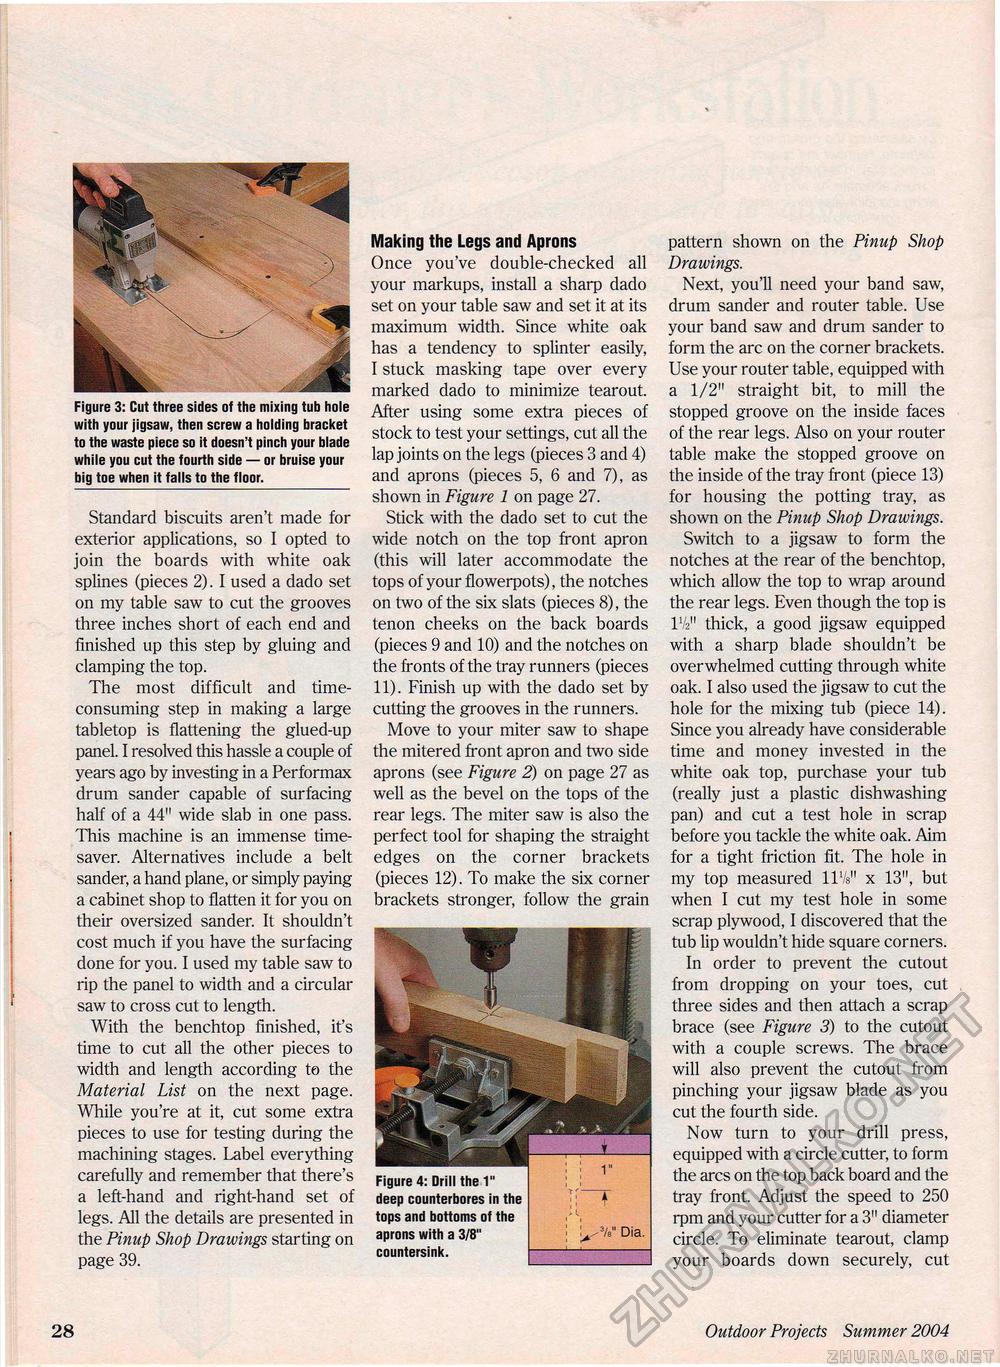
Figure 3: Cut three sides of the mixing tub hole with your jigsaw, then screw a holding bracket to the waste piece so it doesn't pinch your blade while you cut the fourth side — or bruise your big toe when it falls to the floor. Standard biscuits aren't made for exterior applications, so I opted to join the boards with white oak splines (pieces 2). I used a dado set on my table saw to cut the grooves three inches short of each end and finished up this step by gluing and clamping the top. The most difficult and time-consuming step in making a large tabletop is flattening the glued-up panel. I resolved this hassle a couple of years ago by investing in a Performax drum sander capable of surfacing half of a 44" wide slab in one pass. This machine is an immense time-saver. Alternatives include a belt sander, a hand plane, or simply paying a cabinet shop to flatten it for you on their oversized sander. It shouldn't cost much if you have the surfacing done for you. I used my table saw to rip the panel to width and a circular saw to cross cut to length. With the benchtop finished, it's time to cut all the other pieces to width and length according to the Material List on the next page. While you're at it, cut some extra pieces to use for testing during the machining stages. Label everything carefully and remember that there's a left-hand and right-hand set of legs. All the details are presented in the Pinup Shop Drawings starting on page 39. Making the Legs and Aprons Once you've double-checked all your markups, install a sharp dado set on your table saw and set it at its maximum width. Since white oak has a tendency to splinter easily, I stuck masking tape over every marked dado to minimize tearout. After using some extra pieces of stock to test your settings, cut all the lap joints on the legs (pieces 3 and 4) and aprons (pieces 5, 6 and 7), as shown in Figure 1 on page 27. Stick with the dado set to cut the wide notch on the top front apron (this will later accommodate the tops of your flowerpots), the notches on two of the six slats (pieces 8), the tenon cheeks on the back boards (pieces 9 and 10) and the notches on the fronts of the tray runners (pieces 11). Finish up with the dado set by cutting the grooves in the runners. Move to your miter saw to shape the mitered front apron and two side aprons (see Figure 2) on page 27 as well as the bevel on the tops of the rear legs. The miter saw is also the perfect tool for shaping the straight edges on the corner brackets (pieces 12). To make the six corner brackets stronger, follow the grain pattern shown on the Pinup Shop Drawings. Next, you'll need your band saw, drum sander and router table. Use your band saw and drum sander to form the arc on the corner brackets. Use your router table, equipped with a 1/2" straight bit, to mill the stopped groove on the inside faces of the rear legs. Also on your router table make the stopped groove on the inside of the tray front (piece 13) for housing the potting tray, as shown on the Pinup Shop Drawings. Switch to a jigsaw to form the notches at the rear of the benchtop, which allow the top to wrap around the rear legs. Even though the top is IV211 thick, a good jigsaw equipped with a sharp blade shouldn't be overwhelmed cutting through white oak. I also used the jigsaw to cut the hole for the mixing tub (piece 14). Since you already have considerable time and money invested in the white oak top, purchase your tub (really just a plastic dishwashing pan) and cut a test hole in scrap before you tackle the white oak. Aim for a tight friction fit. The hole in my top measured llVs" x 13", but when I cut my test hole in some scrap plywood, I discovered that the tub lip wouldn't hide square corners. In order to prevent the cutout from dropping on your toes, cut three sides and then attach a scrap brace (see Figure 3) to the cutout with a couple screws. The brace will also prevent the cutout from pinching your jigsaw blade as you cut the fourth side. Now turn to your drill press, equipped with a circle cutter, to form the arcs on the top back board and the tray front. Adjust the speed to 250 rpm and your cutter for a 3" diameter circle. To eliminate tearout, clamp your boards down securely, cut Figure 4: Drill the 1" deep counterbores in the tops and bottoms of the aprons with a 3/8" countersink. 28 Outdoor Projects Summer 2004 £ |


